I have so many unfinished bits and bobs on my desk, that I wanted to create a quick card to share today (as I haven't posted for a while). I saw this technique on Marion's blog, where you use the solid side of the acrylic stamp to do the background colour and then I stamped over with black. I really love the effect it gives and so easy too!
Friday, 29 June 2012
Sunday, 10 June 2012
Red, White and Blue...
With it being 'Diamond Jubilee Week', I thought I must make a card with the theme of red, white and blue.
I started by using the Tim Holtz dress form die and I added the dress which I cut out from some Union Jack paper. The flowers were die cut from the same paper, layered up and I used gold card candi for the centres. The sentiment was stamped and added to the card as a finishing touch - love this sentiment!
I would like to enter my card into the following challenges:
Wednesday, 6 June 2012
A Floral Friendship Card
Good Afternoon All!
A friendship card to share today. I just love this sentiment and the flowers, so wanted to make them the focal point of my card. To make the frame (which took some measuring and gluing), I used a Martha Stewart punch, then cut the edges diagonally and glued them together! The Spellbinder Rose Creations flowers were die cut and then I stamped over them with my Dawn Bibby Daisy stamp and made a background to match.
I would like to enter my card into the following challenges:
Tuesday Throwdown - Friendship
Lollipop Crafts - Flowers in Bloom
I love reading all your very kind comments - Thank you all, especially those who follow my blog.x
Lollipop Crafts - Flowers in Bloom
I love reading all your very kind comments - Thank you all, especially those who follow my blog.x
Monday, 4 June 2012
Get Well Soon Card
I needed to make a Get Well Soon Card this week for a male, well where do you start? For ladies, it's fairly easy, just use flowers, but for a man? At craft club, yesterday, one of the ladies showed me some of her newest Michael Powell stamps and I really liked the one that I have used on my card, which is called 'The Harbourside'. I have kept it very simple and stamped the image with Vintage photo distress ink and then used my water brush to colour the image. I have have embossed some white card for the background, to give it some depth and added the sentiment.
Apologies about the picture, I found it really difficult to photo due to the delicate colouring and the white card.
I would also like to enter my card into the following challenges:
Tuesday, 22 May 2012
Shaped Card
I have a shaped card to share with you all today. This delicate pastel card was created for a 'May Inspiration Day' that Christine Emberson featured on her blog. She asked us to create a card, tag or layout to show what May means to us! May to me means flowers in bloom and butterflies in the garden! All the wonderful creations were published on Christine's blog at the start of May, I have included a link if anyone would like to have a look!
Christine's Blog - May Gallery Day
Wednesday, 16 May 2012
My Daughter's 6th Birthday Card
My little girl was 6 yesterday and this is the birthday card that I made for her. I am loving using my Spellbinder die to cut this scallop edge, makes the card a little more interesting. Also using another one of my favourite LOTV stamps, coloured in with my Promarkers, along with some glitter glue to accent the skirt!!!
Really pleased with how it turned out - when she opened it, her words were 'what a pretty card mama!'
I couldn't decide on which background I liked best, so have shared one on each with you all. Hope you like them!
I would also like to enter this card in the following challenges:
Lili's Little Fairies Thursday Challenge - Your Favourite Tools
Simon Says Stamp and Show - Anything Goes
Whoopsi Daisy - Spring Colours
Lili's Little Fairies Thursday Challenge - Your Favourite Tools
Simon Says Stamp and Show - Anything Goes
Whoopsi Daisy - Spring Colours
Monday, 7 May 2012
Wedding Cards
I really like to make wedding cards and this stamp by Lili of the Valley is one of my favourites. I have added some soft colouring and used a glitter pen to highlight the dress. I cut a decorative edge with my Spellbinder dies, added some dry embossing to the top half of the card and some green ribbon to finish.
I would like to enter my card in the following challenges:
365cards -day63 - my greatest talent
hotshotcrafts - Young love
liliofthevalleythursdaychallenge - anything goes
365cards -day63 - my greatest talent
hotshotcrafts - Young love
liliofthevalleythursdaychallenge - anything goes
Friday, 4 May 2012
Something different - Stamped Art
I was recently inspired by a tutorial on Lesley Langdon's blog called 'Framed Stamped Art'. I didn't have the exact paints that she used, so at my art class last week, I tried the technique with Brusho paints. I then used my stamps and black soot distress ink to complete. I am very pleased with the result. I have a few more to complete where I have different colours and will upload these too when finished.
The second photo (not a great photo-apologies), shows the print in a white mount board frame. Just needs a black outer frame now to complete!
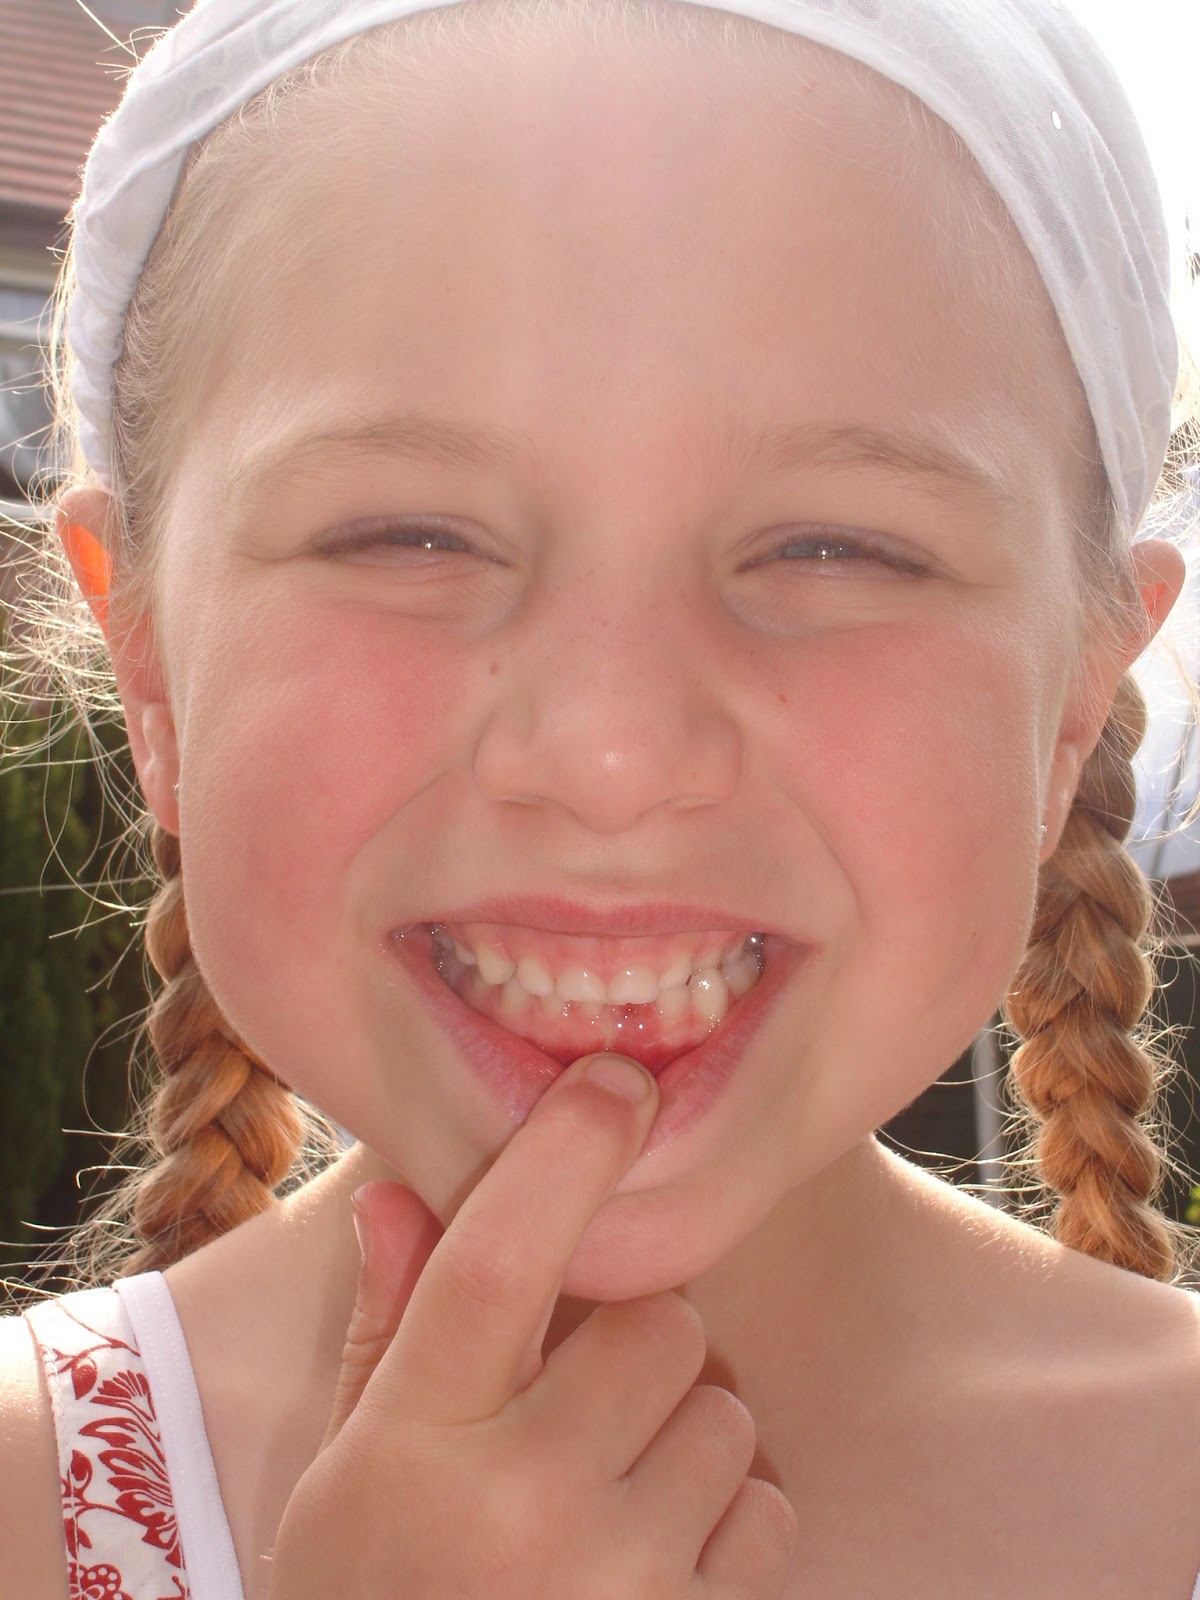
A little note to finish that is not craft related. On Wednesday this week, my little girl lost her first tooth! It had been wobbly for over a week and she was so excited about the tooth fairy's visit!
Tuesday, 17 April 2012
Fairy Wings.......
The card I have today was a result of experimenting with different inks and stamps along with my Spellbinder dies.
I also chose different colours to which I usually reach for.
It took me while to put this card together, but I am pleased with the result. (My photography skills still in need to be improved on, apologies.)
I have a few challenges that I am entering my card into:
Monday, 16 April 2012
'Pysanky' - Ukrainian hand painted eggs
A pysanka is a Ukrainian Easter egg, decorated using a wax-resist (batik) method. The designs are not painted on, but are written with beeswax and then dyes are applied in layers, from light to dark.
This year I have done a few and so have my children. Each egg can take several hours to complete, so they have kept me busy. I also held a workshop recently, where all who came enjoyed the afternoon and went home with a beautifully decorated 'pysanka'.
These are the tools that we use, along with white eggs. On my egg, I have drawn the design out in pencil and then applied the wax.
Some photos of my daughter (she is nearly 6) applying wax to her egg.
Next, the egg is placed in a dye. The first colour is yellow, as we work from light to dark. We continue this process until all the chosen colours have been applied. At the end, the wax is melted to reveal the colours.
The above, are two of the finished eggs before they have been varnished.
The photos below are when they have been varnished, they look so much shinier and prettier now.(Mine and the children's)
(Pysanky are one Ukrainian tradition that we enjoy to do at Easter).
At this time of year, we prepare a basket of food for the Easter Basket Blessing, which takes place at the church on Holy Saturday. The blessed food is then eaten on Ukrainian Easter Sunday morning for breakfast. Home baked paska (sweet bread), cooked hams, eggs, horseradish, butter and then the pysanky are added for decoration. This is our basket below which we all enjoyed for breakfast yesterday morning. (Ukrainian Easter Sunday)
I have still a few eggs to varnish and will show them on here when they are finished.
Subscribe to:
Posts (Atom)