Good Afternoon All!
Following on from my previous post, I found another card that I had created using the same method but hadn't share on here yet. This card was made using a stamp from the Sweet Juliet Collection. Love this little card, reminds me of Spring which hopefully will soon be here!

Card Size: 12cm x 12cm
Instructions:
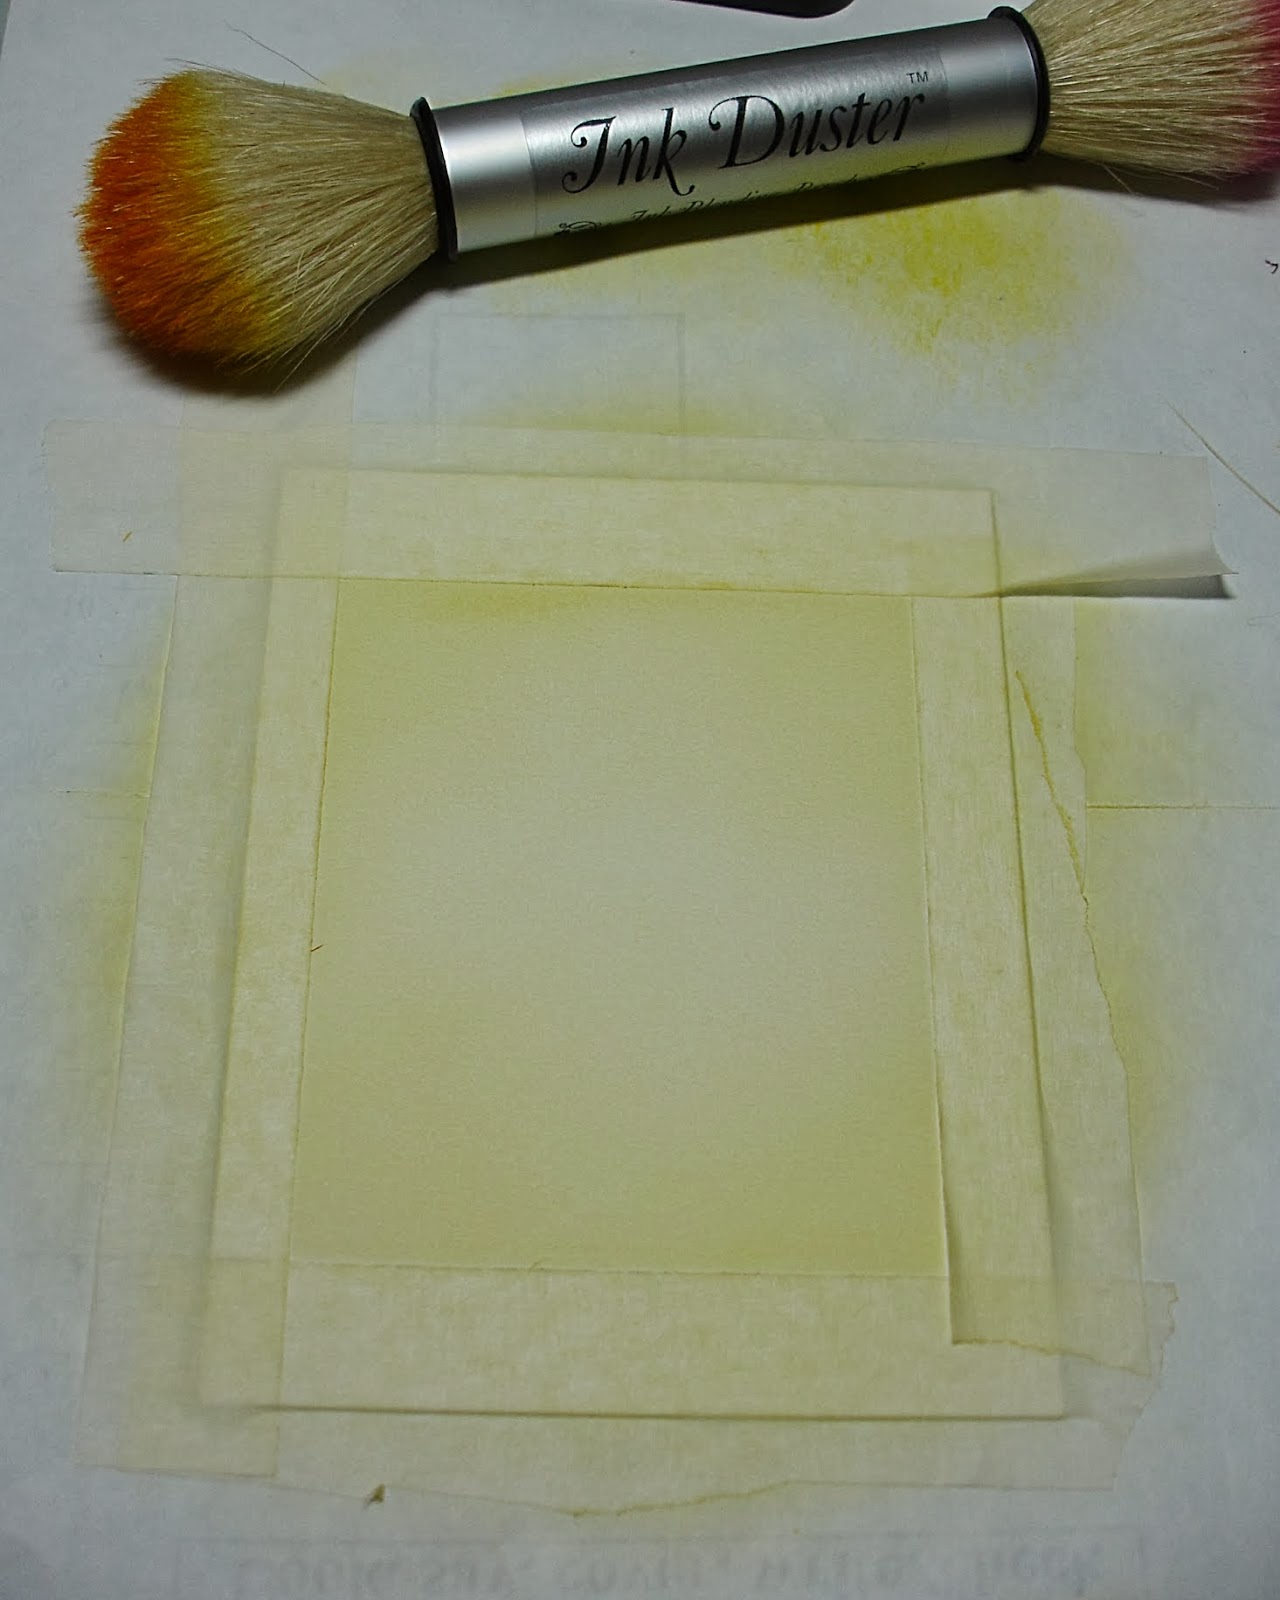
Die cut a circle from a sticky note to use as a mask. Place this onto a piece of white card. Using stencil tape, create a frame on your card. Using ink dusters, gently add colour to the card. Begin with the yellow, then add the green to the lower half and blue to the top. Remove the mask and add a little yellow where the mask was to tone down the whiteness. Add purple and green ink to the floral stamp and stamp several times ensuring that one is stamped in the circle. Remove the stencil tape carefully. Using a purple promarker (with fine nib) and a piece of spare card, create a frame around your work. Cut down to the size needed (mine measured 11.5cm x 11.5cm). Add purple ink to the edges and heat emboss with clear embossing powder.
Cut down some purple paper from the Burst Of Splendor collection to fit beneath - 11.5cm x 11.5cm. Layer up using foam pads. Stamp the sentiment onto white card using purple ink, heat emboss and cut out. Create a bow from purple ribbon. Glue into place and add the sentiment to the centre.
The products used can be found on the Heartfelt Creations blog, along with more ideas and inspiration from the design team.
Thanks for visiting me today,
Oksana
x
I would like to enter my card into the following challenges:
Craft-Dee BowZ - Anything Goes with a handmade bow
Crafty Ribbons - Anything Goes
Great Impressions - Floral Images
Sentimental Sundays - Make your own background paper
Artistic Stampers - Use Distress
Totally Papercrafts - Spring
Craft-Dee BowZ - Anything Goes with a handmade bow
Crafty Ribbons - Anything Goes
Great Impressions - Floral Images
Sentimental Sundays - Make your own background paper
Artistic Stampers - Use Distress
Totally Papercrafts - Spring


